
To set up recurring tasks in Zapier for beginners, start by creating a new Zap and choosing “Schedule” as your trigger. Select your preferred frequency—daily, weekly, or monthly—and customize the specific time and timezone. Then, add actions to automate tasks like sending emails or updating spreadsheets. Test your Zap to guarantee it works correctly, then turn it on. If you follow these steps, you’ll discover how to streamline your workflow with ease.
Key Takeaways
- Choose “Schedule” as the trigger type to create recurring tasks in Zapier.
- Configure trigger settings for frequency (daily, weekly, monthly) and exact timing.
- Set the correct timezone to ensure tasks run at the intended local time.
- Test the trigger to confirm it fires accurately and without duplicates.
- Regularly review and adjust trigger settings to maintain reliable automation.
Understanding the Basics of Zapier and Automation
If you’re new to automation, understanding how Zapier works is the first step. Zapier helps you streamline tasks, enabling workflow optimization by connecting your favorite apps without coding. It operates through “Zaps,” which are automated workflows triggered by specific events. To get started, grasping the core concept of triggers and actions is essential. Following automation best practices, you should focus on creating simple, reliable Zaps that reduce manual effort. Keep your workflows organized and test each step thoroughly to avoid errors. Recognizing how data flows between apps allows you to design efficient processes. Additionally, understanding projector technology can help you optimize the integration of various tools for visual presentations. With this foundation, you’ll be better equipped to build effective automations that save time and improve productivity, setting the stage for more advanced automation setups later.
Creating a New Zap for Recurring Tasks
To create a new Zap for recurring tasks, start by selecting the appropriate trigger type that fits your schedule. Then, configure the trigger settings to make certain it runs at the right times, and test your setup to confirm everything works smoothly. This process helps you automate your tasks efficiently and reliably. Additionally, detecting passive voice can improve the clarity and impact of your writing by making it more direct and engaging.
Selecting the Trigger Type
Have you ever wondered how to set up a Zap that runs on a regular schedule? To do this, you need to select the right trigger type, typically “Schedule.” When choosing this, consider your time zone considerations so your tasks run at the correct local time. Picking the proper schedule guarantees your workflow aligns with your needs and prevents missed deadlines. Additionally, selecting the trigger carefully helps avoid duplicate task prevention issues, which can happen if your Zap fires too frequently or overlaps. By focusing on the “Schedule” trigger, you control when your recurring tasks start and how often they repeat, making your automation reliable and efficient. This step is essential to ensure your Zap runs smoothly without unnecessary repetitions or missed actions. Proper website creation essentials also contribute to the overall success of your automation setup.
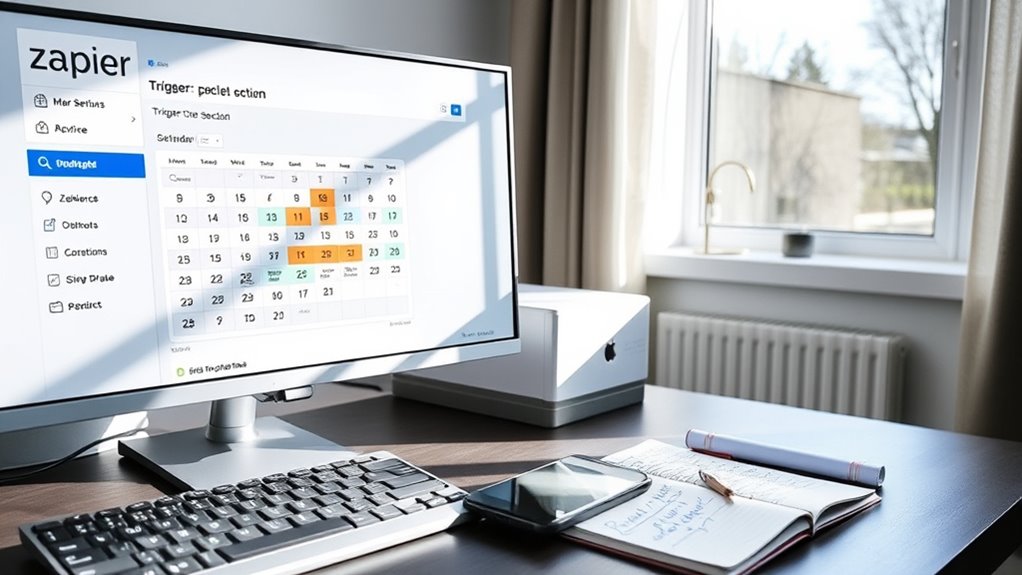
Configuring Trigger Settings
Once you’ve selected the “Schedule” trigger, the next step is to configure its settings to specify exactly when and how often your recurring tasks should run. You’ll need to choose the trigger frequency—daily, weekly, or monthly—and set the specific time. Keep timezone considerations in mind, ensuring your tasks run at the right local time. Here’s a quick overview:
| Frequency | Time | Timezone |
|---|---|---|
| Daily | 8:00 AM | Your timezone |
| Weekly | Monday at 9:00 AM | Your timezone |
| Monthly | 1st of month at 10 AM | Your timezone |
Adjust these settings carefully to avoid missed or duplicated tasks. Proper configuration guarantees your recurring tasks run smoothly and reliably. Being aware of expiration of vape juice and other spoilage indicators can help ensure your processes remain safe and effective.
Testing the New Zap
After configuring your trigger settings, it’s time to test your new Zap to make certain it works correctly. Start by clicking the “Test Trigger” button in Zapier to verify your setup. Keep timezone considerations in mind, ensuring the trigger fires at the correct local time, especially if you work across multiple regions. If you’re using multiple trigger setups, test each one individually to confirm they activate as expected. Check the data received during testing to ensure all fields populate correctly. If something doesn’t look right, revisit your trigger configurations. Running these tests helps prevent issues once the Zap is live. Accurate testing ensures your recurring tasks automate smoothly, saving you time and avoiding misfires caused by timezone mismatches or trigger misconfigurations. Additionally, considering breakfast delivery trends can help tailor your automation to align with seasonal or regional demand fluctuations.
Choosing the Right Trigger for Scheduled Automation
Choosing the right trigger is key to effective scheduled automation in Zapier. You can pick time-based triggers, calendar events, or interval triggers to suit your needs. Understanding these options helps you set up reliable, recurring tasks with ease. Incorporating routine health checks into your automation can help ensure your processes stay smooth and prevent issues before they arise.
Selecting Time-Based Triggers
When setting up scheduled automation in Zapier, selecting the right time-based trigger is essential to guarantee your tasks run smoothly and at the right moments. You need to take into account time zone considerations to ensure your triggers activate at the correct local time, especially if your team or audience spans multiple regions. Zapier offers various trigger frequency options, from daily and weekly to monthly schedules, allowing you to choose how often your tasks run. Make sure you pick a trigger that aligns with your workflow and deadlines. By understanding these options, you can avoid missed actions or delays. Choosing the appropriate time-based trigger helps maintain consistency and reliability in your automation, ensuring it executes precisely when you want it to, which is crucial for effective workflow management.
Using Calendar Events
Calendar events offer a flexible way to trigger your automations based on specific dates and times. By using calendar integration, you can set up automations that activate when an event starts, ends, or at a designated reminder. This is especially useful for managing deadlines, meetings, or recurring tasks tied to your schedule. When choosing the right trigger, consider whether you want automation to fire on event creation, updates, or cancellations. Event reminders can also serve as timely prompts for actions like sending follow-up emails or updating records. Using calendar events as triggers helps guarantee your workflows are synchronized with your daily commitments, making your automation more organized and reliable. It’s an efficient way to keep everything running smoothly without manual intervention. Additionally, selecting the appropriate trigger can yield measurable results by aligning your automation with key moments in your routine.
Leveraging Interval Triggers
Interval triggers allow you to run automations at regular time intervals, making them ideal for tasks that need consistent updates or checks. When scheduling automation, choosing the right trigger is vital, and interval triggers provide a straightforward solution. They let you set how often your Zap runs, whether every 5 minutes, hourly, daily, or weekly. This flexibility ensures your automations stay up-to-date without manual intervention. Using interval triggers simplifies the process of scheduling automation, especially when precise timing isn’t tied to specific events or calendar dates. They’re perfect for routine data checks, reminders, or repetitive updates. Additionally, understanding key concepts in sound design can help in creating more engaging and immersive workflows. By leveraging interval triggers, you guarantee your workflows run reliably and consistently, saving you time and effort while keeping your processes smooth and automated.
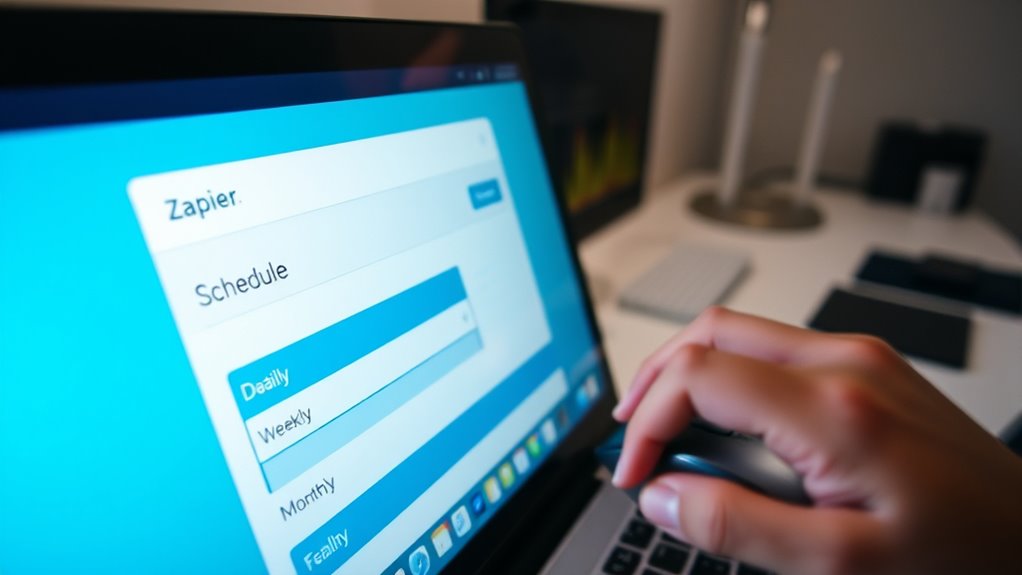
Setting Up the Schedule: Daily, Weekly, or Monthly

Setting up the schedule in Zapier allows you to automate tasks at specific intervals, whether daily, weekly, or monthly. When choosing your schedule, consider time zone adjustments to ensure your tasks run at the correct local time. Zapier also lets you set holiday exceptions, so tasks won’t trigger on holidays or specific dates you specify. This feature helps you avoid unnecessary executions during non-working days. To set this up, select the interval that fits your needs—daily, weekly, or monthly—and customize the start time. Be mindful of your time zone and holiday preferences to keep your automation accurate and efficient. Additionally, understanding Gold IRA fundamentals can help you make informed decisions about your investments. Once configured, your recurring tasks will run smoothly, saving you time and effort in managing repetitive work.
Configuring Actions to Perform at Each Interval
Once you’ve scheduled your recurring trigger in Zapier, the next step is to define the actions that should happen at each interval. This is where workflow customization really comes into play, allowing you to tailor each task to meet your needs. To optimize your trigger and guarantee it performs efficiently, consider these actions:
- Select specific apps and actions that align with your goals
- Map out relevant fields to automate data transfer accurately
- Test each step to verify trigger optimization and workflow reliability
- Incorporate safety considerations to ensure sensitive data is protected during automation processes.
Customizing Your Recurring Tasks With Filters and Delays
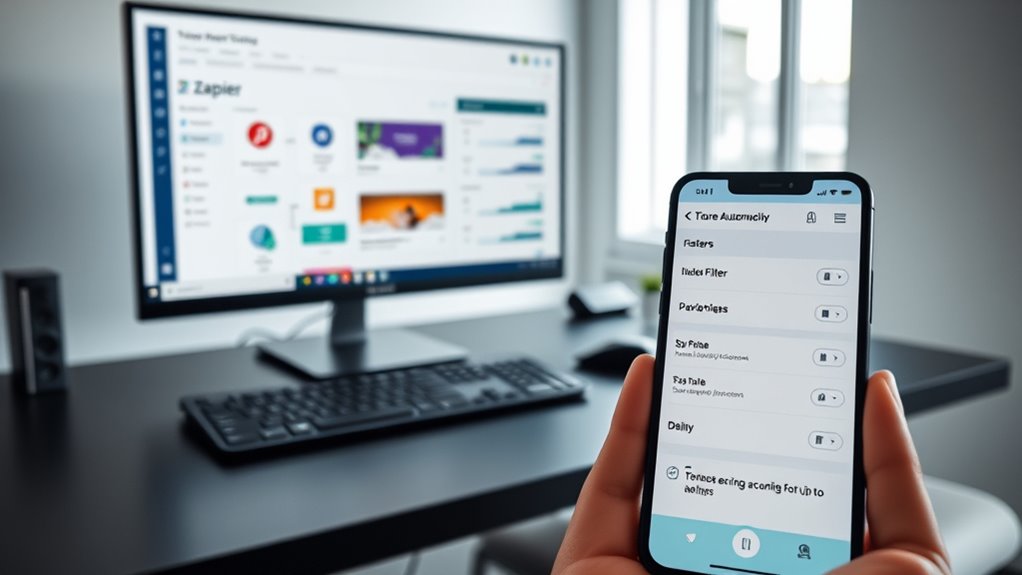
To guarantee your recurring tasks run smoothly and only when necessary, incorporating filters and delays into your Zapier workflow is essential. Filters help you customize notifications, ensuring you only get alerts for relevant events. For example, you can set filters to trigger actions only if specific conditions are met, reducing unnecessary notifications. Adjusting intervals allows you to fine-tune how often your tasks occur, preventing overloading your workflow or missing critical updates. Adding delays can stagger actions, giving time for data to settle or for other processes to complete. By customizing notifications with filters and delays, you optimize your recurring tasks, making them more precise and efficient. This approach ensures your automation runs exactly when needed, saving time and reducing clutter. Additionally, understanding Beauty Store Hours can help you plan your tasks around store timings if you are managing appointments or inventories.
Testing Your Zap to Ensure Proper Functionality
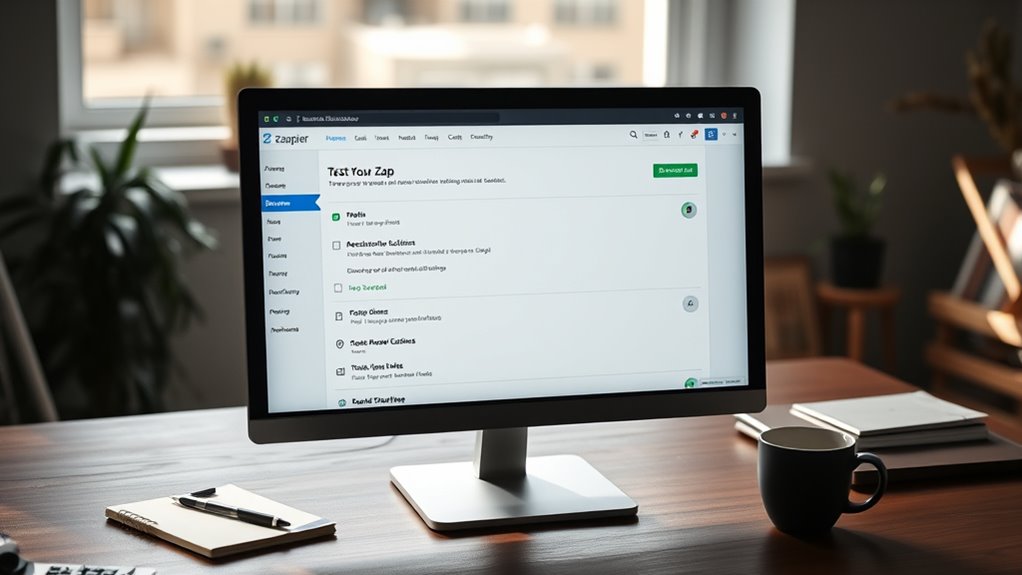
Before you start running your Zap regularly, it’s crucial to test it thoroughly. You need to verify that the trigger fires correctly, check that the actions produce the expected results, and troubleshoot any errors that come up. Doing this ensures your recurring tasks work smoothly every time. For example, understanding IRA investing options can help you anticipate potential issues related to data types or account information during testing.
Verify Trigger Accuracy
Verifying trigger accuracy is a essential step to guarantee your Zap works correctly. Proper trigger validation ensures your automation fires at the right time, preventing missed or duplicate tasks. To do this effectively, consider these steps:
- Test the trigger in Zapier’s interface to see if it pulls the expected data.
- Confirm that your trigger conditions align with your schedule optimization goals.
- Check recent data to verify that your trigger activates when it should, avoiding false positives.
- Additionally, ensure that your trigger captures the specific water activity or event you intend to automate, similar to how water parks offer targeted attractions to meet visitor expectations.
Check Action Outcomes
Checking action outcomes is a crucial step to guarantee your Zap functions as intended. After testing, review the results to confirm the correct data was sent and received. Pay attention to time zone adjustments, ensuring timestamps or scheduled actions align with your preferred local time. If your Zap includes notifications, verify that they’re delivered according to your notification preferences—whether via email, Slack, or other channels. This step helps identify any discrepancies early, preventing errors from propagating. Make adjustments if needed, such as updating time zones or notification settings. Additionally, understanding how Kia Tuning modifications can impact vehicle performance can help you better interpret any unexpected results. By thoroughly checking action outcomes, you ensure your recurring tasks run smoothly and reliably, giving you confidence that your automation behaves exactly as planned.
Troubleshoot Common Errors
Testing your Zap thoroughly is essential to identify and resolve common errors that can disrupt your automation. When errors occur, you might see error messages or encounter sync problems that prevent your tasks from running smoothly. To troubleshoot effectively: 1. Review error messages carefully to understand the issue, such as authentication failures or formatting errors. 2. Check your trigger and action connections for sync problems, ensuring your apps are properly linked. 3. Test each step individually to pinpoint where the error originates, then adjust your setup accordingly. Additionally, verify the headphone compatibility and connection methods used in your setup to ensure smooth operation.
Activating and Managing Your Recurring Zaps
Once you’ve set up your recurring Zap, activating it is straightforward—simply toggle the switch to turn it on. After activation, review your time zones to guarantee your Zap runs at the correct local time, especially if you work across different regions. Adjust notification preferences to stay informed about your Zap’s status; choose whether you want alerts for successful runs, failures, or both. Managing your Zaps also involves monitoring their activity and making adjustments as needed. You can disable or enable your Zap anytime, depending on your schedule or changing needs. Regularly checking these settings helps prevent missed tasks and keeps your automation running smoothly. Be aware of potential security vulnerabilities in new technologies to protect your data. With these simple steps, you’ll keep your recurring tasks on track effortlessly.
Tips for Troubleshooting Common Scheduling Issues

Even after activating and managing your recurring Zaps, scheduling issues can still arise, causing delays or missed tasks. Common problems include timezone conflicts and duplicate triggers. To troubleshoot effectively, consider these steps:
- Check timezone settings in Zapier and your apps to ensure synchronization.
- Look for duplicate triggers that might cause multiple executions or conflicts.
- Review your Zap’s schedule to confirm it’s set correctly and isn’t overlapping with other Zaps.
- Ensuring your setup supports remote work can improve your overall productivity and prevent scheduling mishaps by optimizing your workspace.
Addressing timezone conflicts often involves adjusting the timezone in your Zap or connected apps. Eliminating duplicate triggers can prevent repeated task runs. Keeping these elements in check ensures your recurring tasks run smoothly and on time.
Exploring Advanced Recurring Workflow Options

To enhance your recurring workflows in Zapier, exploring advanced options can open greater flexibility and efficiency. With custom recurrence patterns, you can tailor your workflows to specific schedules, such as running tasks every third Monday or on irregular intervals. Advanced scheduling options allow you to set multiple triggers or conditional timing, giving you control beyond simple daily or weekly repeats. These options help you automate complex routines that standard recurrence settings might not support. By leveraging custom recurrence patterns, you can optimize your automation to fit your unique needs, saving time and reducing manual effort. Incorporating Halloween-themed workflows can add seasonal relevance and engagement to your automations. Plunge into these features to create more dynamic, precise workflows that adapt to your specific scheduling requirements.
Frequently Asked Questions
Can I Set Multiple Recurring Schedules Within One Zap?
Yes, you can schedule multiple triggers within one Zap, but handling complex recurrence scenarios requires some creativity. Zapier doesn’t natively support multiple schedules in a single Zap, but you can work around this by using delay or filter actions to manage different timing needs. Alternatively, setting up separate Zaps for each schedule might be clearer and more reliable for complex recurrence scenarios, ensuring each task triggers precisely when needed.
How Do I Pause or Temporarily Disable a Recurring Zap?
To pause or temporarily disable a recurring Zap, you simply go to your Zap’s dashboard and toggle the switch off. This allows you to disable automations quickly while managing schedules effectively. When you want to resume, just toggle it back on. This easy step helps you control your workflows without deleting or editing your Zap, ensuring smooth management of all your scheduled automations.
What Are the Limitations on Frequency for Scheduled Tasks?
You wonder about frequency constraints for scheduled tasks. Zapier’s scheduling intervals typically allow you to set tasks to run every 15 minutes, 30 minutes, hourly, daily, or weekly. However, there are limitations: you can’t schedule tasks more frequently than every 15 minutes on free plans, and higher plans offer more flexibility. Keep in mind, these scheduling intervals help you plan your workflows effectively without overloading the system.
Can I Connect Multiple Apps With a Single Recurring Trigger?
Yes, you can connect multiple apps with a single recurring trigger in Zapier. This allows you to set up a Zap with multiple actions, each linked to different app integrations, triggered by one scheduled event. Multiple triggers aren’t necessary; instead, you configure multiple app actions within one Zap. This streamlines your workflow and saves time, making it easier to automate tasks across various tools simultaneously.
How Do I Handle Errors or Failed Scheduled Tasks?
When managing errors or failed scheduled tasks, you need effective error handling and failure notifications. Zapier allows you to set up email notifications or app alerts for failures, so you’re aware immediately. You can also add filters or paths within your Zaps to retry actions or handle errors gracefully. Regularly checking your task history helps you identify issues early, ensuring you maintain smooth automation and promptly resolve any failures.
Conclusion
Now that you’ve got the hang of setting up recurring tasks in Zapier, you’re ready to turn your workflow into a well-oiled machine. Think of your Zaps as the heartbeat of your automation kingdom, keeping everything running smoothly on schedule. With a little practice, you’ll master scheduling like a pro, making automation feel like second nature. Just remember, each successful Zap is a brushstroke in your masterpiece of efficiency.